Who doesn't love shoes?
I’ve been traveling quite a bit lately. When, I arrived home
from my last trip, I unpacked and realized my past three trips I put my shoes
in plastic store bags! Yikes!
When I first learned to sew, I had plenty handmade shoe bags that I used for my
shoes. It was a super easy project for me to practice straight stitching and
very necessary to my shoe collection! 😊 Being an avid garment sewer – I have TONS of
shoes!
Well, my friends and family saw them and now I don’t have
any! LOL! I have been without shoe bags now for over 5 years and I have an
abundance of shoes! I haven’t stopped
traveling so, I am sharing how to make a shoe travel bag! Just in time to make
some for myself and my next trip this November!
The key to this project is SIZE! It’s important to
make a shoe bag that will fit your shoes. With the chunky heal style being on
trend, this bag works great! 😊
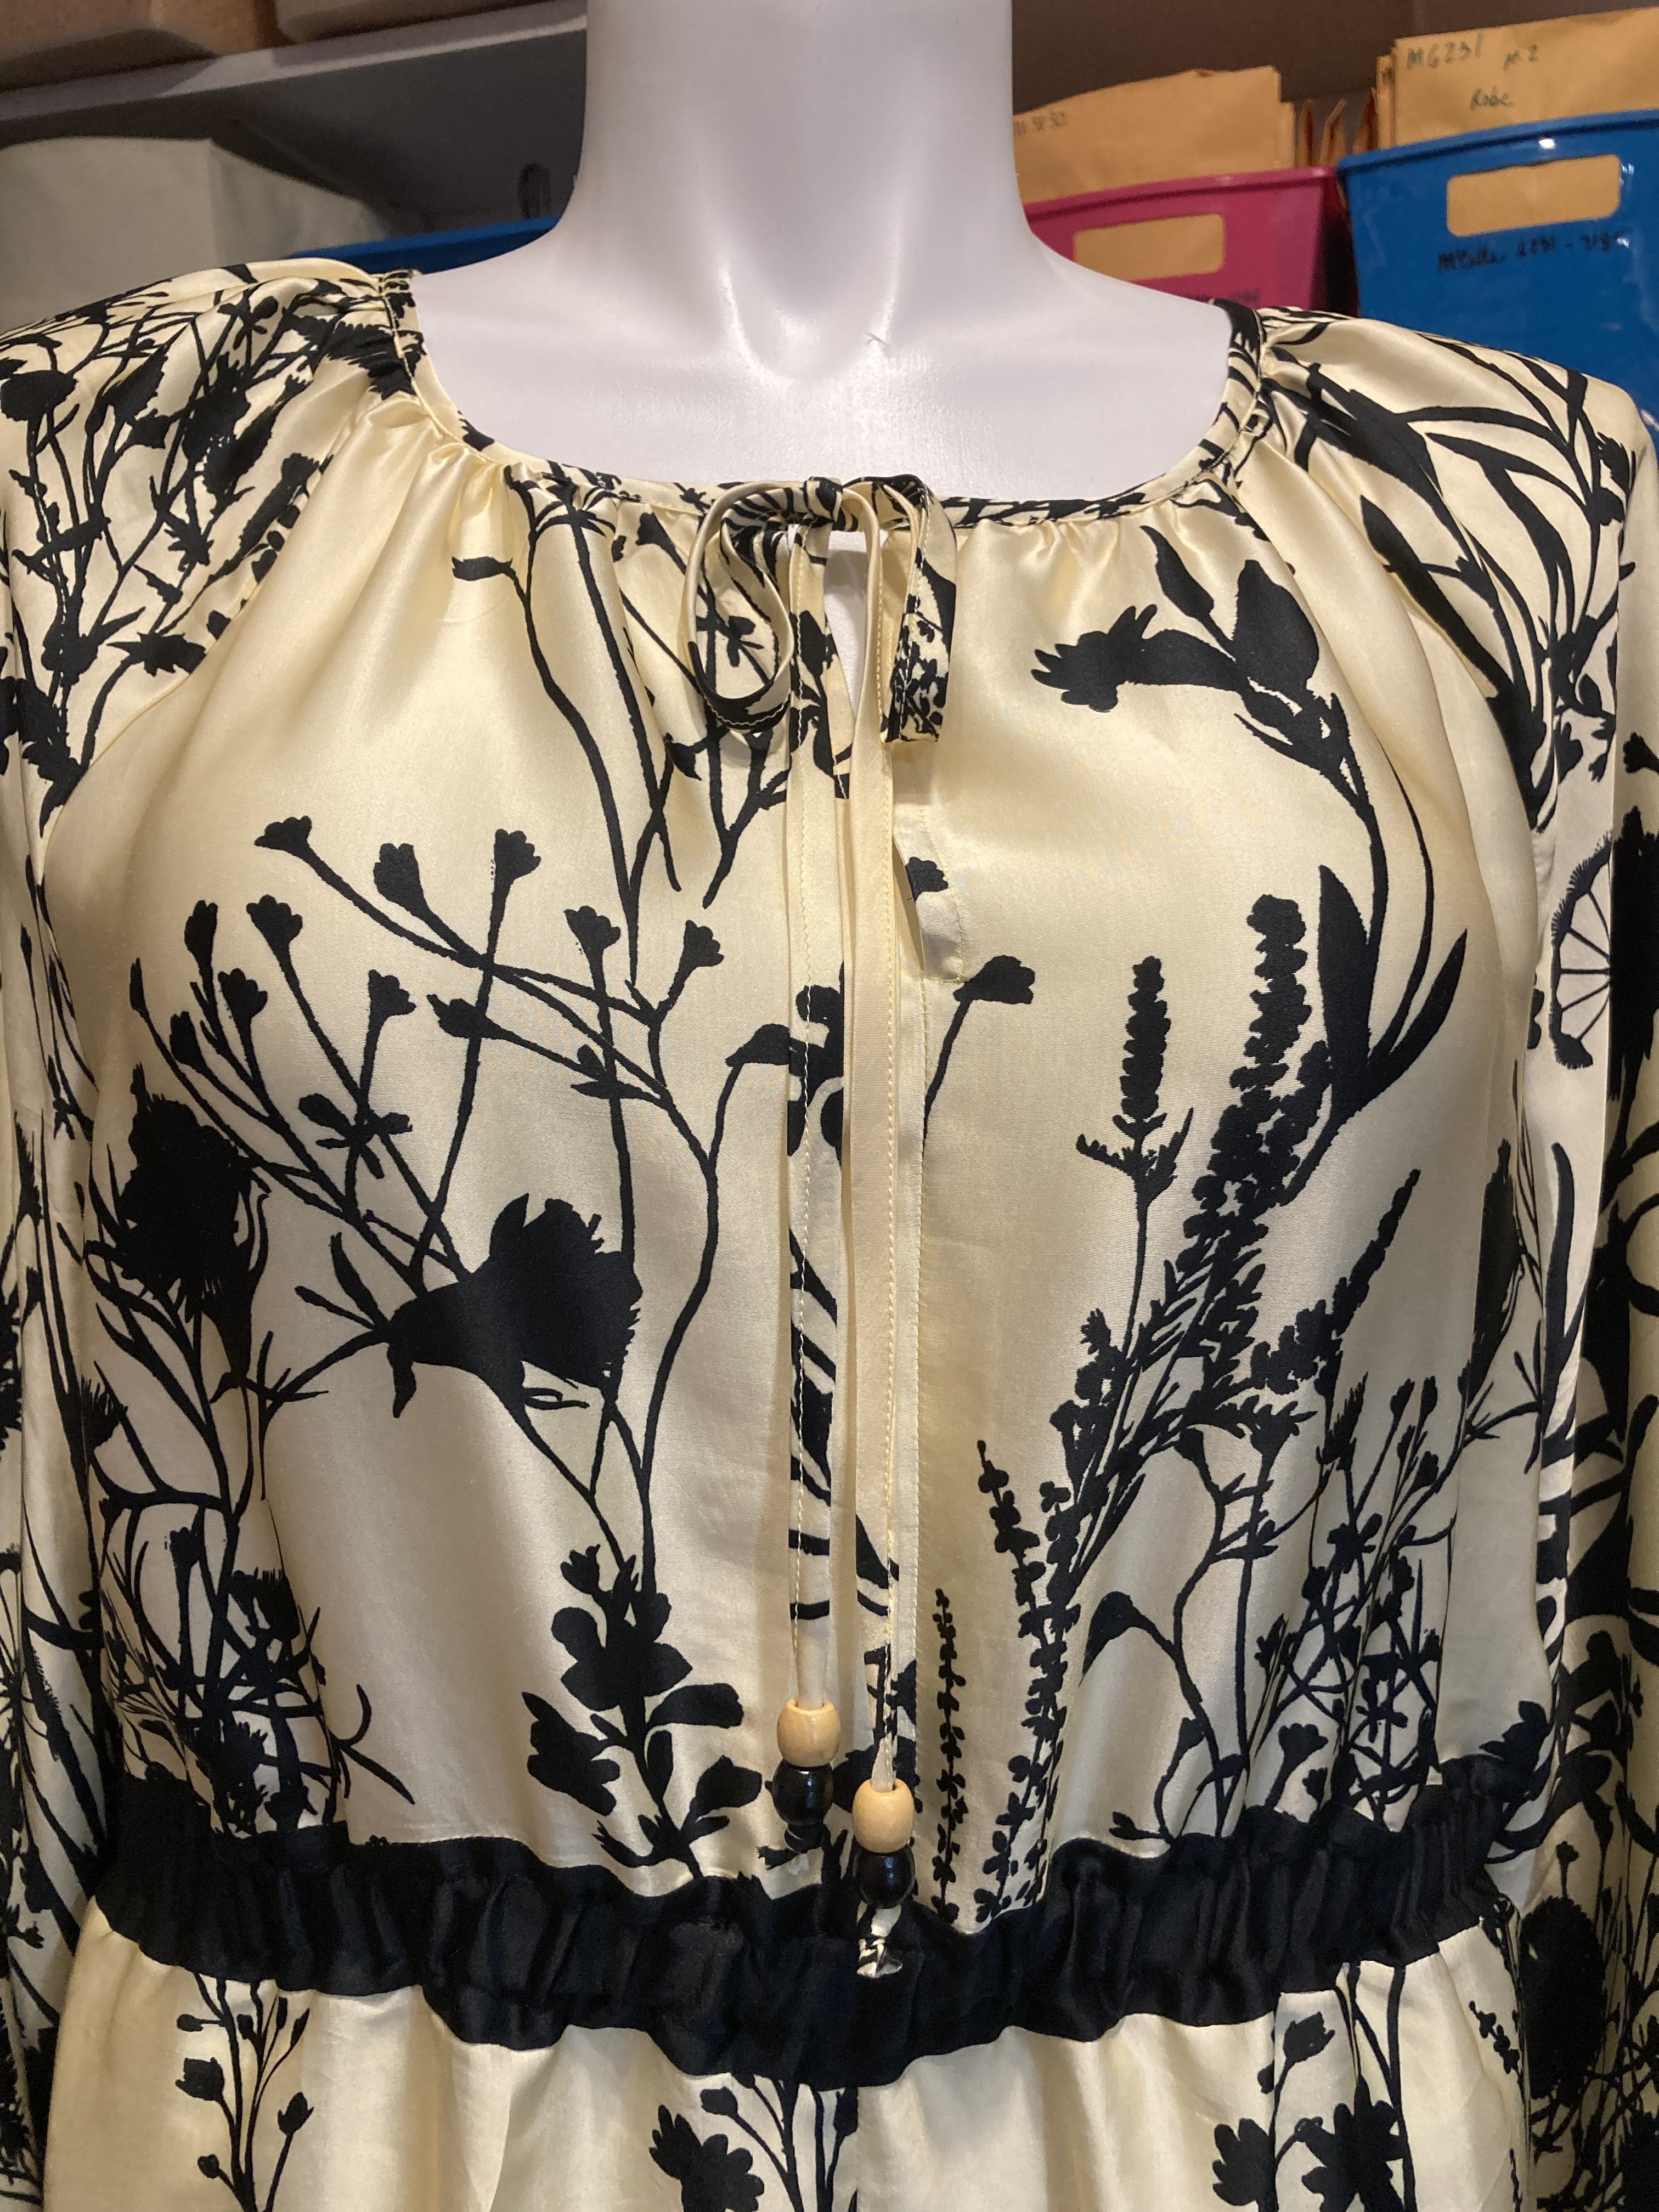
The second key is fabric! There are so many fun cotton
fabrics to choose from! Some have shoes and other fun motifs printed right on. I’ll be using fabric from my stash. To make
them fun and interesting, I’ll be using my Janome Horizon 15,000 to embroider
some fun on one of my bags!
You
will need:
½ Yard of medium weight cotton fabric (Quilter’s
cotton is good). I don’t recommend interfacing on the cotton because it’s not
needed. (or)
½ Yard of Home decor fabric if you prefer to “up your
shoe bag” game! Home decor fabric is durable as well as pretty! (Do not use
Upholstery fabric-to thick and that backing is not good 😊)
Also, a ½ yard of any fabric will yield you about 1 shoe bag!! (if you opt to
make it smaller than my dimensions you could possibly manage to get 2.)
2 Yards of Ribbon - 1/4” – Drawstring – ¼” braid rope
(for the home dec fabric users) You decide which to use based on your fabric
choice! And away we go!
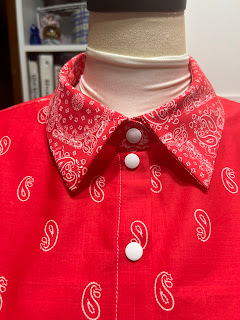
2 Drawstring Stoppers or 4 decorative beads (optional)
Marking Pencil/Pen or Tailor chalk
Straight Pins, Scissors or Rotary Cutter
The Steps:
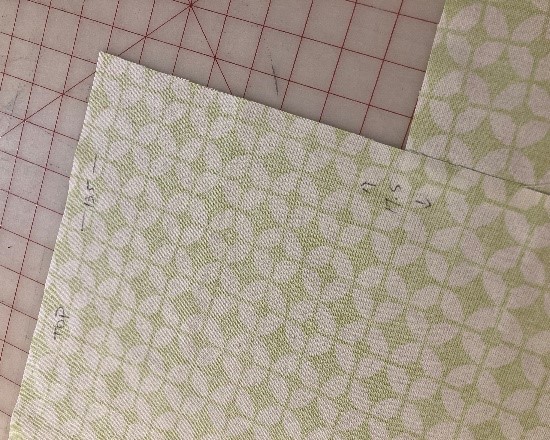
Cut 2 pieces of fabric 13.5” by 17.5” squares –
(If you have an embroidery machine Now is the Time!)
From the top Raw edge of the fabric, measure
down 1.5” and draw a line across your fabric. (Wrong side) This will be the
line you will fold to and start and end your stitching.
 |
| Step 1 |
 |
| Step 2 |
With right sides together, stitch sides in 1/2”
Seam Allowances, start stitching at the line you marked. Reinforce or backstitch at the beginning and
then continue sewing and pivot at bottom corners to complete the square. Stop
and back stitch at marked line.
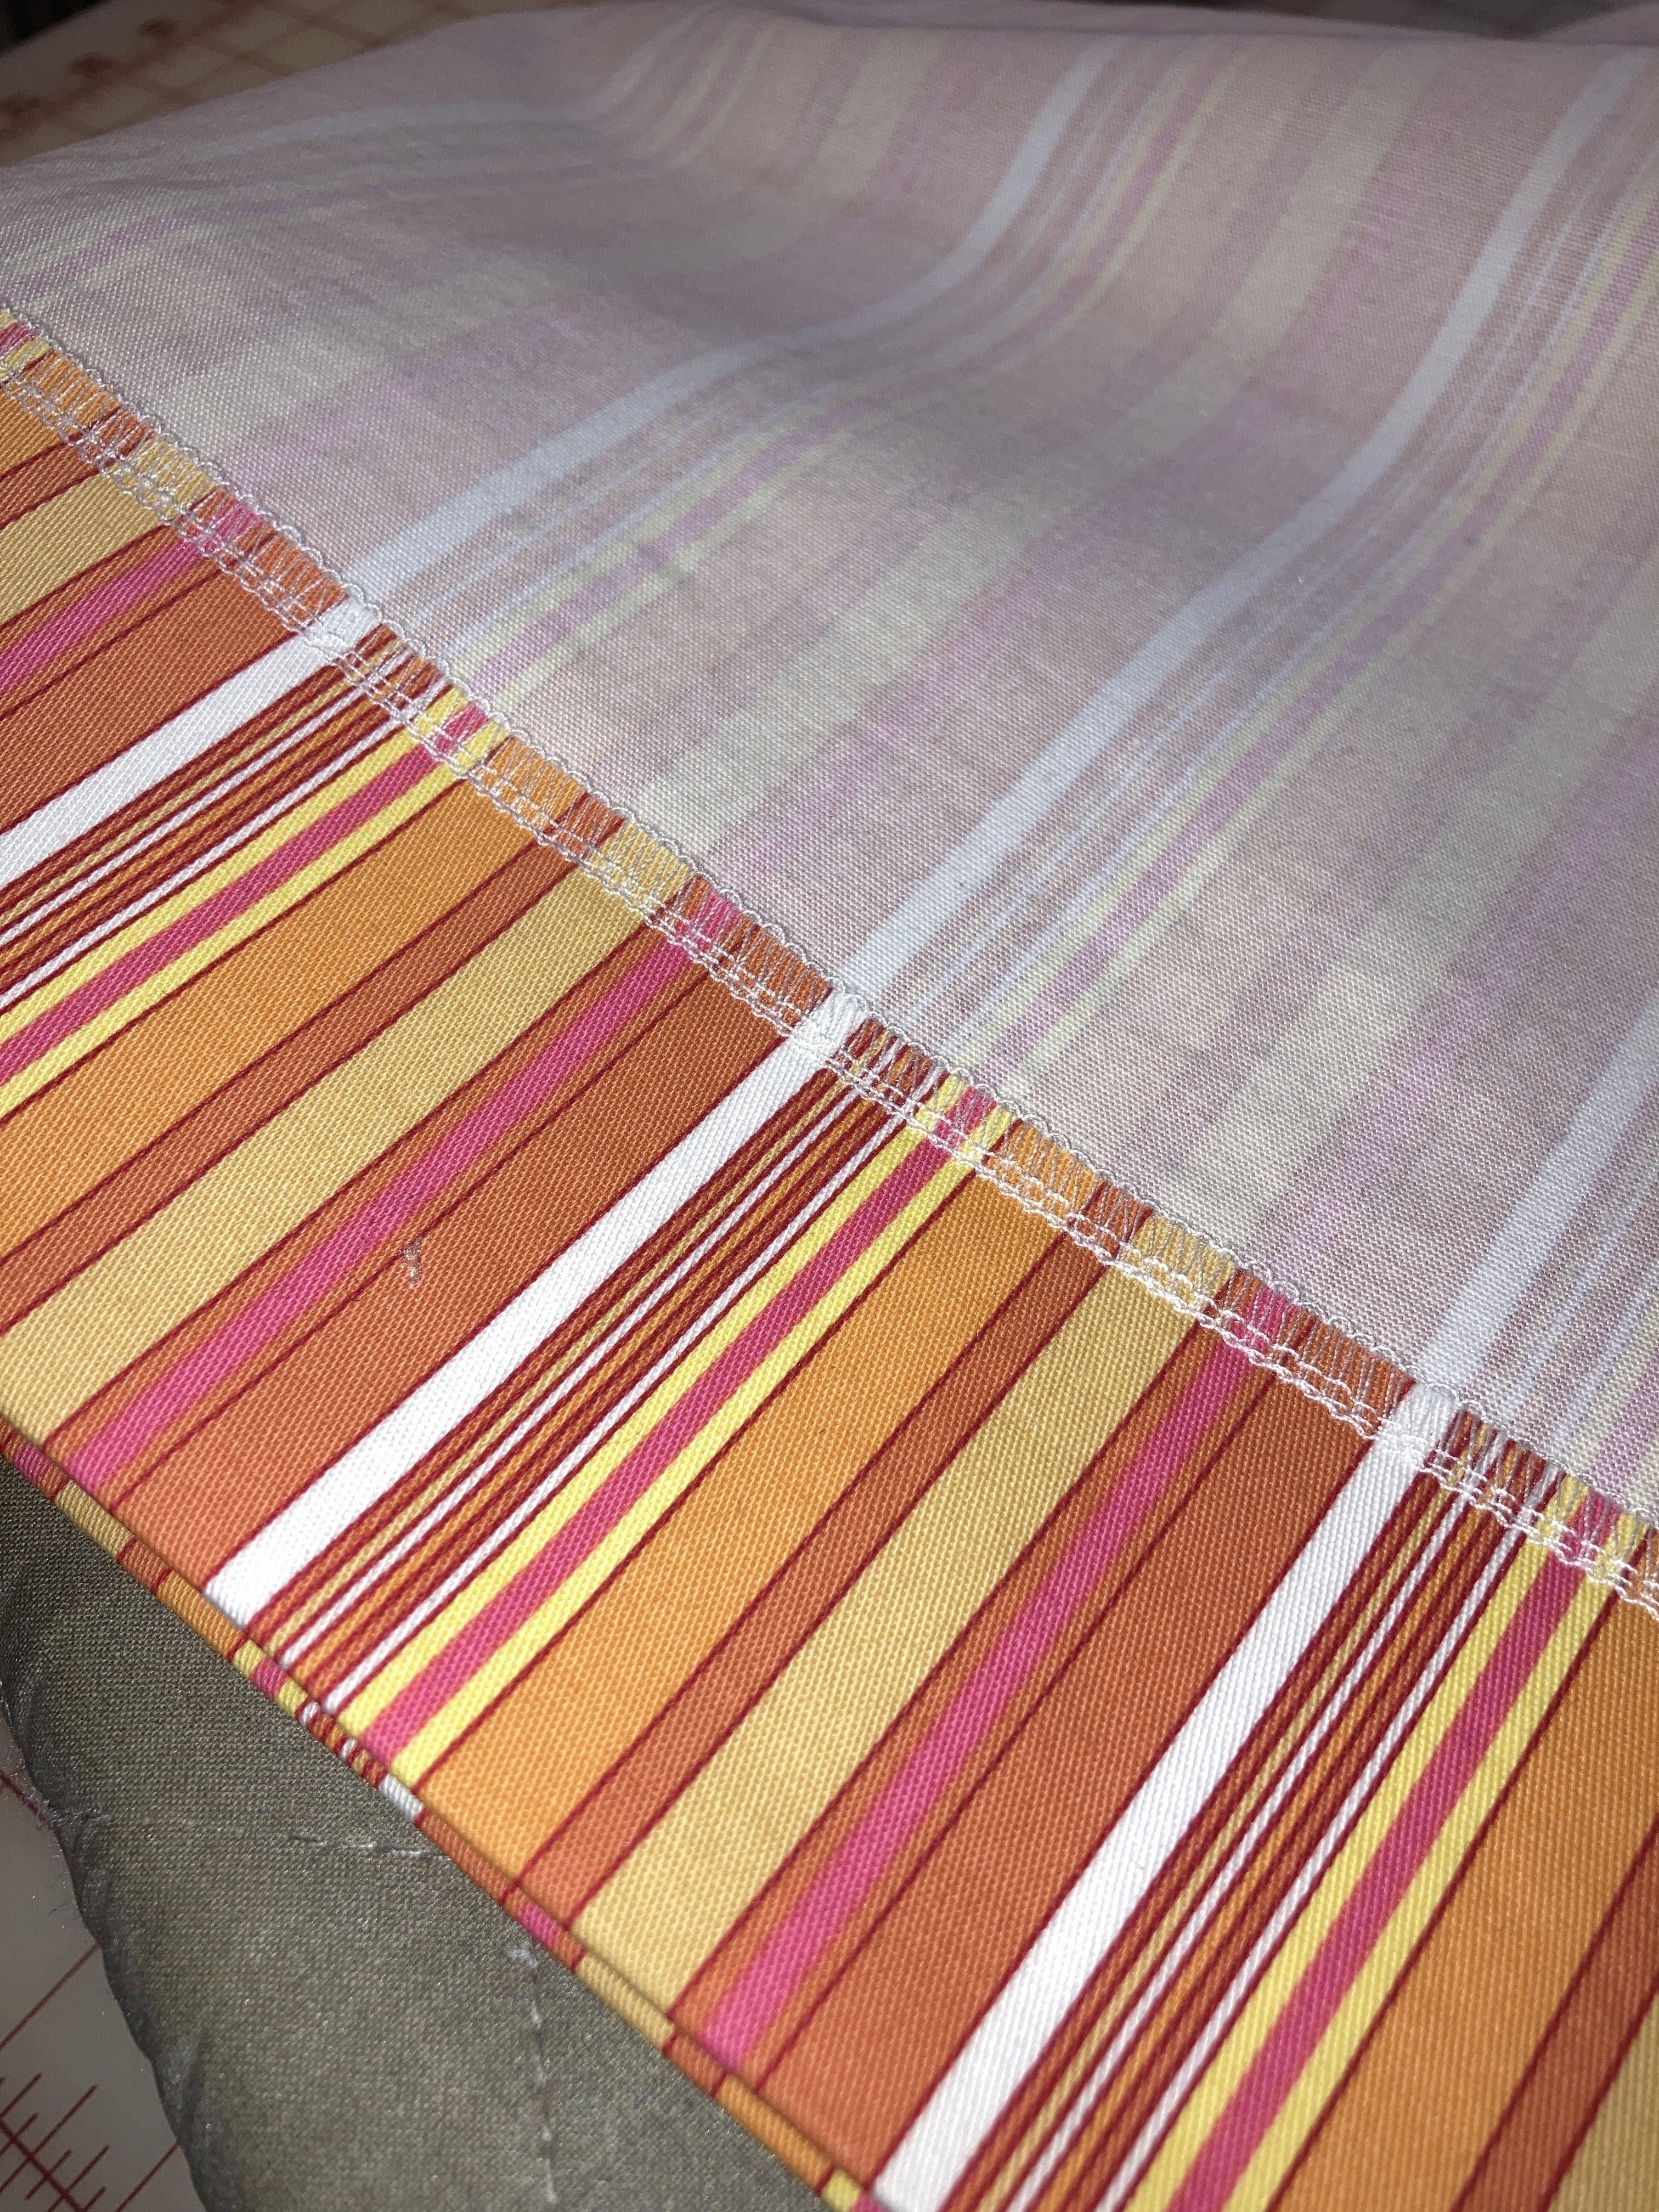
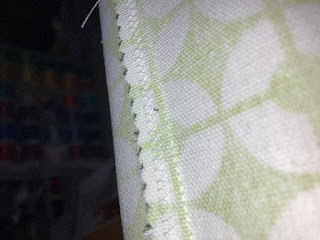
Finish all seams and press seams to one side.
You can finish your seam edges using a serger, pinking shears or a zig zag
stitch on the seam allowances. (Whichever works for you is good!) I used a
zigzag and pinking shears.
 |
| Step 3 & 4 |
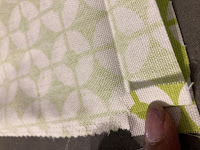
With the bag wrong side out, Finish the raw
edges at the top of the bag. Clip at the line and fold the top side seam
allowances in ½” and press. Fold the (finished) edge 1 1/2” on each side of
the bag, meeting the marked line. Press.
 |
| Step 5 |
 |
| Step 6 |
Stitch close to the edge that meets the line.
Press. *Note* To add a ruffle to your bag, measure down 3/8” from the top fold
of your bag and draw a line across the top on the front and back of the bag.
Stitch on the line. You should now see
two rows of stitching.
At the bottom corners, flatten the fabric as
shown and stitch 1” from the point across the bag. This will “square” off the
bottom of your shoe bag. Trim the excess off and finish with pinking shears,
zigzag stitch, or serger. Turn your bag right sides out and Press seamlines!
(Yes, Again 😊)
Thread the bag as illustrated. Raw edges of the
string are threaded thru each side. You
can tie a knot or on the ends of the tie or add beads or string stoppers!
Your bag is NOW complete! Make as many as you like! Safe and Happy
Travels!


.jpg)